By Jamye Sagan
 During the 2017 STC Summit at National Harbor, MD, I attended several interesting, insightful presentations. Here are highlights of some of them.
Picture Perfect! How to Turn Words and Data into Powerful Graphics
Mike Parkinson (@Mike_Parkinson)
Graphics creation has always been of interest to me, as graphics can complement the written narratives I must prepare as part of my IDL work. So, I thought this presentation would suit my needs perfectly – and it did.
Parkinson explained how pictures are easier to understand than words, by demonstrating how more effective a diagram of how to tie a tie was vs. a paragraph on how to do so.
He also explained the “concept and render” method for transforming data into graphics. “Concept” pertains to defining one’s audience and determining what message to convey to them, while “render” refers to the physical assembly of the message into something visual. Parkinson provided a handy poster illustrating which chart/graphic element works best for visualizing data.
What I found most intriguing is that the designer need not have the fanciest software to create graphics. Parkinson demonstrated how he used PowerPoint to create an image of a padlock, which he incorporated into a graphic showing bullet points about keeping data secure. Here the graphic—a padlock—resonates with the message of data security.
Very useful presentation!
On track! Running Effective Meetings
Viqui Dill (@viqui_dill)
Oftentimes, meetings can be a waste of time because they go all over the place without a clear purpose. In her spotlight talk, Dill shared useful advice for conducting meetings, including:
- Establishing a parking lot for ideas not relevant to the meeting topic. Doing so not only helps keep the meeting on track, but also communicates respect for the teammate bringing up the idea.
- Collecting feedback, especially CONSTRUCTIVE feedback about how the meeting could have gone better
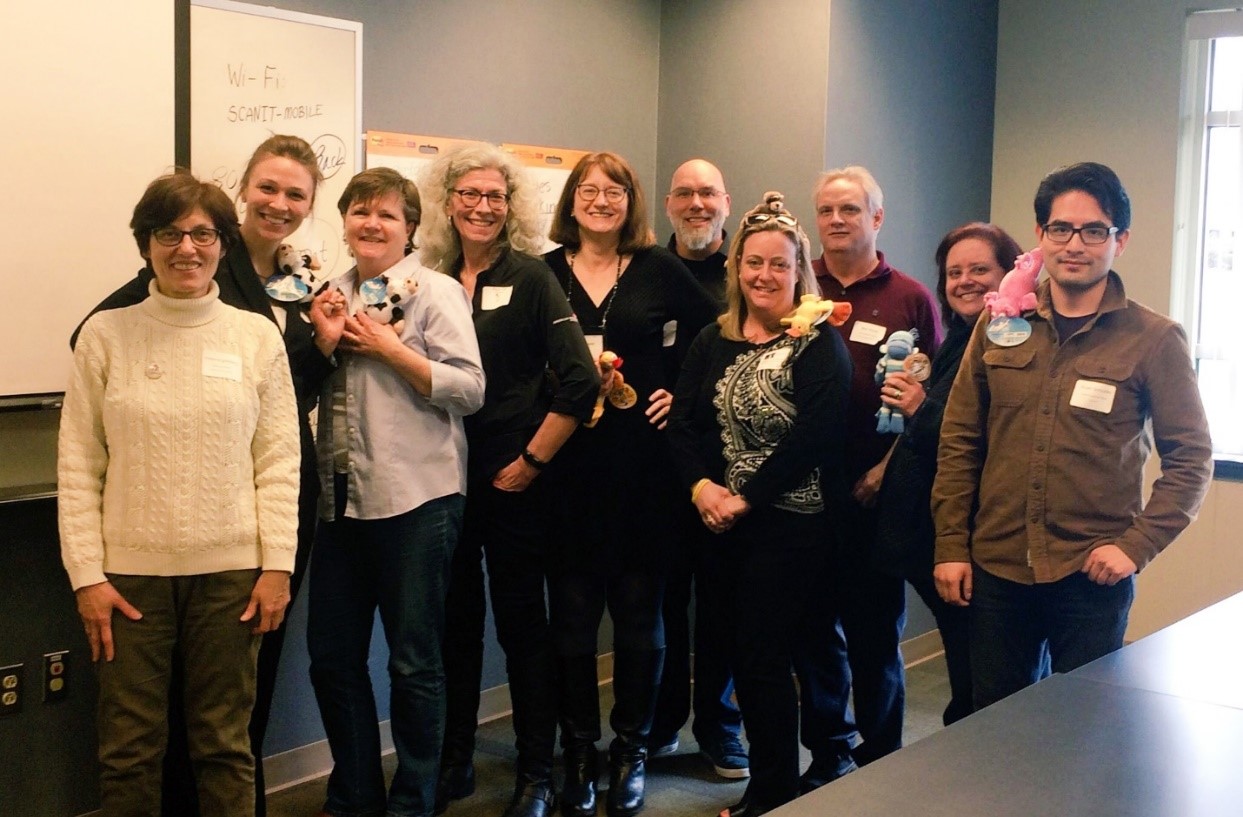
Dill kept her presentation fun yet educational with her aerodynamic icebreakers (I won my flying pig by knowing the Wright brothers’ names!) – another tip for conducting effective meetings: Dill swears by icebreakers because they get people talking, interacting and thinking.
I was most surprised to hear that meeting attendees should not generate any deliverables at meetings, especially if the purpose of the meeting is to discuss a specific subject. I had to ponder that statement for a bit, because sometimes we do have meetings where we actually do create or edit deliverables. However, if that is not the meeting’s purpose, then of course deliverables should not be created.
Fun and effective talk!
Six Super Success Hacks
Leah Guren (@Leah4CowTC)
In her spotlight talk, Guren shared six actions people can take to become more professionally successful. These tips include:
- Work your calendar – review your calendar at the start and at the end of the day. Also review your calendar at the beginning of the week. The most valuable piece of advice Guren gives is “check first, commit later” because if you miss a deadline, you risk being perceived as unreliable and unprofessional.
- Stop lying to yourself. Work with your nature, not against. Ask yourself: How long did this take last time? What works best for me?
- Lobby for the user. According to Guren, if you focus on the users’ needs, everyone wins! Ask yourself: How does this help the user? Am I providing my client with the right options?
- Communicate like a pro. Guren recommends that you treat all text with respect, AND
- Find the spotlight. Sometimes, this is hard since many of us have been conditioned to not brag about ourselves. However, modesty wins no awards. Ask yourself: What did I initiate? How did I contribute to the user experience or the bottom line?
- Fake it ‘til you make it. Guren demonstrated how taking a power stance with one’s body can help build feelings of confidence: Body language can greatly help in building confidence Wonder Woman and Superman immediately came to mind. It really does work!
Guren also shared one final piece of incredibly SAGE advice, which I try to follow: Spend at least one hour a week to read articles and publications pertaining to your profession.
Video Provides the Edge
Mark Kleinsmith (@kleiny7352)
In his presentation, Kleinsmith explains how technical communicators should start embracing the “YouTube world”, which is to provide more video in support of autonomous work, since many people (especially millennials), tend to try 3-5 different strategies for troubleshooting the problem themselves before calling for help. In my work, I always google how to perform certain actions in the software applications I use – with much success.
Kleinsmith also argues that videos create bonds with customers, in that they readily provide information in a captivating, easy to digest way. He also explains how to incorporate videos into content–from editing software (Adobe Audition) to robust hosting platforms (Vimeo) that enable private viewing and user stats.
This presentation gave me much food for thought, about how to better incorporate video in my work – from embedding software tutorials in email communications, to using our in-house communication channels to promote these videos.
Know Your Client’s Language
Chrystal Mincey (@Annika_2822)
Knowing what your client expects and what they want to accomplish are crucial to the project’s success. In her presentation, Mincey shared some tips for how to understand your client’s needs. Main takeaways include:
- Understand your role in helping your client reach the end goal. This includes knowing:
- What the client expects
- What their end goal is
- Who is responsible for what
- What the deadlines, schedules, and milestones are
- Begin projects with the end in mind.
- Always use style guides. If none exists, create one.
- The client is always right – but may be open to change.
It all boils down to effective communication and never losing sight of the finish line.
So You Think You Know What Your Readers Want?
Yoel Strimling (@reb_yoel)
You know the saying “don’t make assumptions because they make an…”? Making wrong assumptions about the audience, dear readers, can result in our work not being as effective as it should. In his presentation, Strimling explains the research that is needed to determine what readers really are looking for, vs. what writers think readers need. In essence, readers want accurate, clear, and relevant documentation that provides VALUE. Readers want to feel it was their worthwhile to use the documentation that it made their tasks easier to perform.
Strimling effectively used a pen analogy in describing intrinsic quality of documentation.
When writing a letter, would one rather have a beautiful pen with no ink, or a cheap-looking pen with ink? Since the purpose is writing a letter, and not just gazing at the pen, the obvious choice here is the pen that works. In other words, if the documentation looks attractive but does not serve the intended purpose, it is useless.
Overall, Strimling challenged us writers to put ourselves in the readers’ shoes and ask ourselves: “If I were the reader, would this deliverable help me do my job better?” Now, whenever I design any materials, whether it be job aids or department memos, I always ask myself this question. It’s helped me focus on the purpose at hand, and what my readers need.
The Gamification of Instructional Design
Phylise Banner (@phylisebanner)
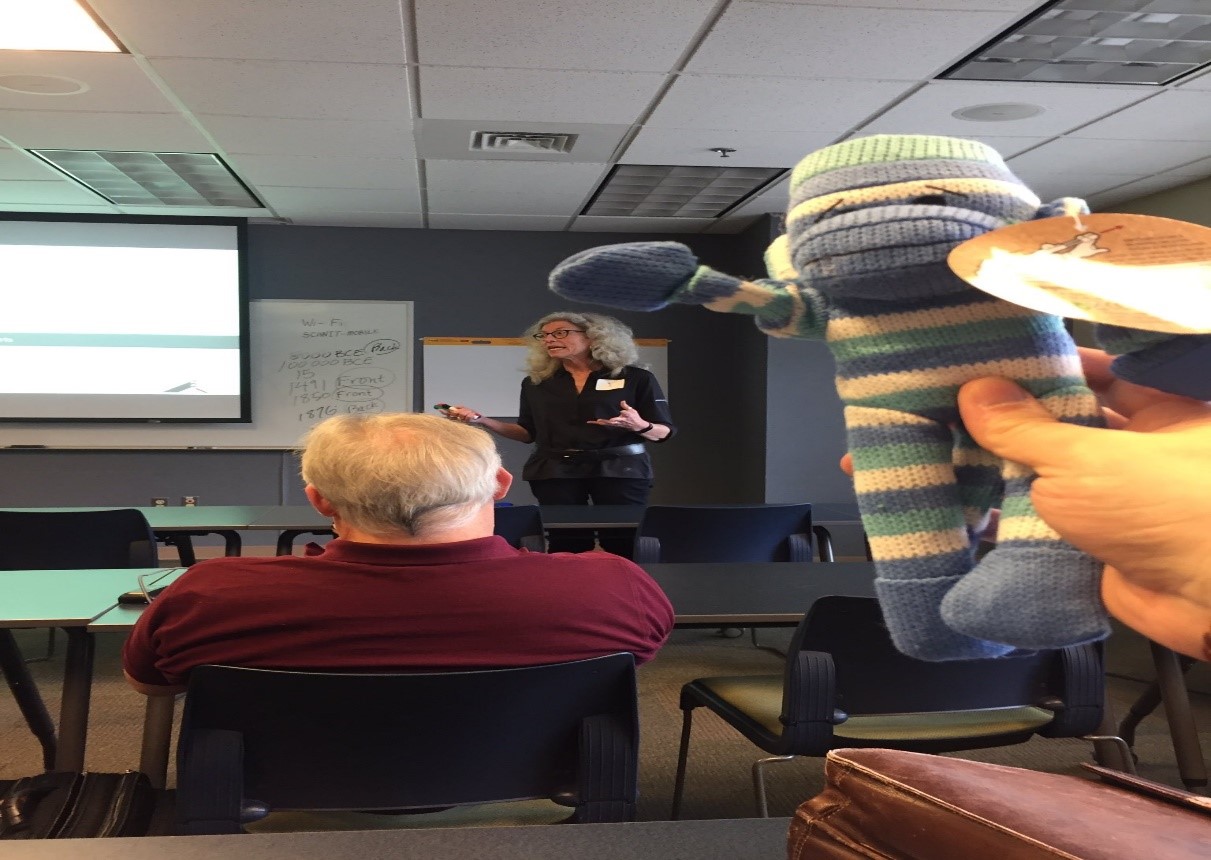
In her session, Banner took an interesting approach to showing how to incorporate play in the overall instructional design process. She demonstrated how to use the Learning Battle Cards (https://www.learningbattlecards.com/\) in exploring different aspects of instructional design.
Learning Battle Cards, which consist of a deck of 100+ cards, describe various forms of learning. Each card contains a wealth of information on:
- Where in the instructional design process the concept occurs, from beginning to end
- Type of learning (e.g. self-learning, formal, asynchronous)
- Ranking of various characteristics pertaining to: production effort and time required by the educator, process effectiveness, and engagement and difficulty of use by the student.
Banner split us into smaller group and guided us in an exercise where we devised a basic training plan based on the cards we drew. These cards really helped us to look at instructional situations from different perspectives. Even if some of the concepts were unknown, our group still had fun devising a training plan for the project at hand. Although the cards right now are a bit pricey for my budget, I would like to eventually purchase a deck for my own enrichment.
How May I Help You?
Todd DeLuca (@TechCommTodd)
In his spotlight talk, DeLuca uses an analogy, likening technical communicators to restaurant workers. Are we the cooks, who toil behind the scenes? Or are we the waiters, who serve upfront? Of course, the customers are the diners enjoying the meal.
DeLuca proposes that technical communicators be more like waiters, since waiters interact with the customer and are therefore closest to the customers’ needs and expectations. There is nothing wrong with being behind the scenes like the cook, but one runs the risk of being too far removed from the customer.
I played around with DeLuca’s analogy in my mind: Technical communicators can also be chefs who emerge from the kitchen doors to showcase their dishes to the customers. After all, look at Wolfgang Puck or any other famous chef! How best to serve your customers? Well, getting to know them of course!